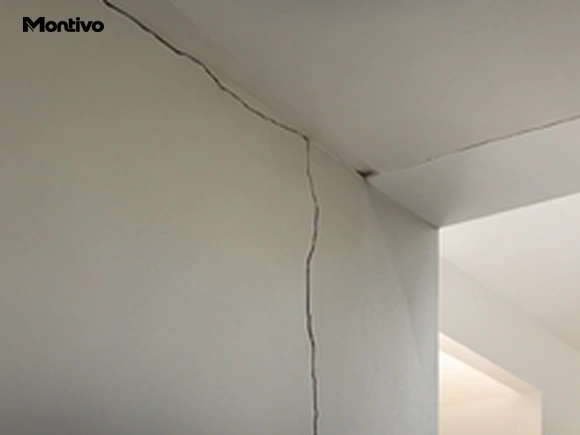
A fine crack along a ceiling is often filled and painted over. Sometimes the junction stays neat; sometimes the same line returns. That does not automatically mean the filler was poor. It may mean the repair did not match the type of connection.
A durable approach begins by identifying which materials meet and whether they move relative to each other. A plastered masonry wall against concrete, a plasterboard partition meeting a suspended ceiling and two parts of one drywall system are not interchangeable details.
Locate the crack precisely
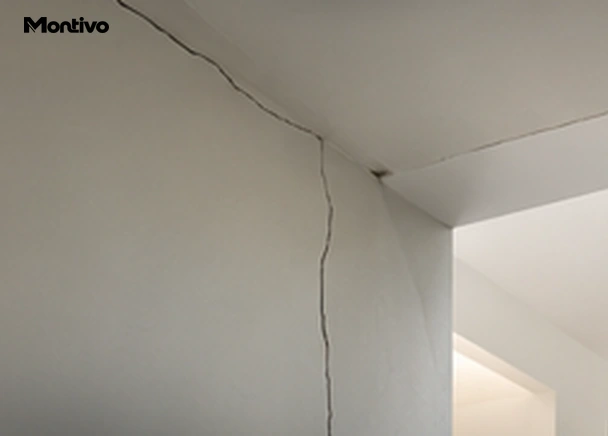
Distinguish a crack in paint from one through plaster and from an opening between building components. Check whether the line only follows the corner or continues across the wall or ceiling. Record damp marks, discolouration, detached material and any difference in level.
A close-up is useful, but include an overall view of the room and junction. The pattern often tells more than an extreme enlargement of one point. Buildwise documents cracking at gypsum-block partition-to-ceiling connections as a specific situation. [4] That does not establish the cause of every similar-looking line.
Why rigid filling can fail again
Where components do not move exactly together, the connection needs to accommodate that behaviour. A rigid repair across a moving location can be stressed again. A thicker layer or stronger-looking mesh is therefore not necessarily the answer.
Gyproc discusses site conditions and the separation of certain connections where deformation is expected. [3] The appropriate method depends on the underlying construction and system. Establish how the junction is built and what movement is anticipated before selecting a material for the visible repair.
Ask whether the proposal is intended to reconnect materials or deliberately separate them. These are different strategies. Without understanding that distinction, adding successive layers can hide the detail temporarily while leaving the underlying issue unchanged.
Wet plaster needs its own connection detail
For plastered wall and ceiling junctions, Buildwise describes a deliberate separation in fresh plaster followed by a flexible joint. [1] This principle belongs to its application context. It is not an instruction to cut deeply and indiscriminately into every existing crack.
A repair requires assessment of the layers present and how an appropriate junction can be created without damaging underlying components. Discuss the intended appearance as well: a controlled joint can look different from a completely continuous plastered surface. Agree that choice before painting starts.
Plasterboard is not plaster on masonry
In plasterboard construction, board joints, edge profiles, fixings and connections to neighbouring components all matter. Manufacturer systems may use a separating tape or another specified edge detail. Knauf, for example, describes Trenn-Fix for certain ceiling-board connections. [2]
It does not follow that every internal corner should be identical. Some system connections require joint reinforcement; others need a controlled separation or a sliding detail. Select the detail for the actual assembly and required performance. An isolated suggestion to add paper tape or sealant is insufficient.
A repair should not inadvertently compromise fire or acoustic performance either. Identify the original system where those requirements apply.
Not every crack is a finishing problem
A fine, stable line and a rapidly changing opening need different assessments. Growth, visible displacement, cracks continuing through load-bearing parts or associated changes such as sticking doors justify further building assessment before cosmetic work is commissioned.
Record the location and date and compare photographs from the same position. Such monitoring helps an investigation but does not replace competent assessment. The width or colour of one photographed crack cannot provide a reliable universal diagnosis.
Plan preparation, repair and painting together
After diagnosis, loose layers can be removed and the selected junction detail repaired. The substrate needs to suit the repair or jointing material. Subsequent finishing and paint must be compatible with that solution.
A sealant described as paintable does not, for example, guarantee that any paint will tolerate any movement. Follow compatibility and drying instructions. Agree the width of any visible joint and whether a finishing profile forms part of the result. This makes both the technical and visual objectives clear.
Define the quotation properly
Request a description of the observed problem, layers to be removed, the proposed connection detail and treatment of neighbouring surfaces. Make clear whether the scope covers finishing only or also investigation and repair of the underlying construction.
Discuss uncertainty before work begins. If the construction becomes clear only after opening the junction, include an inspection and decision point. Repainting the whole room is not automatically part of a local joint repair.
A useful record also notes previous repairs and whether the line changes seasonally. This information does not prove a cause, but it can help the person assessing the junction avoid repeating an unsuitable repair without considering its history.
A lasting approach starts with the detail
When a crack keeps returning, have the entire connection assessed rather than just the filler. Montivo can discuss the investigation and finishing approach suited to the actual wall and ceiling construction.
Sources and technical background
- Buildwise — Hoe kunnen scheuren in de aansluiting tussen muur en plafond vermeden worden?
- Knauf België — Plaatplafonds
- Gyproc België — Voor- en nazorg op de werf voor kwalitatieve gipsbepleistering
- Buildwise — Microscheurtjes ter hoogte van de aansluiting tussen de muren en het plafond (Pathologie 109)
This article provides general considerations. Site assessment and the current requirements of the selected system determine the installation.