A dark edge beside a window or door frame may be caused by moisture, unsuitable sealant or installation residue. Its colour alone does not tell you which. Scrubbing the area or resealing it straight away may make matters worse.
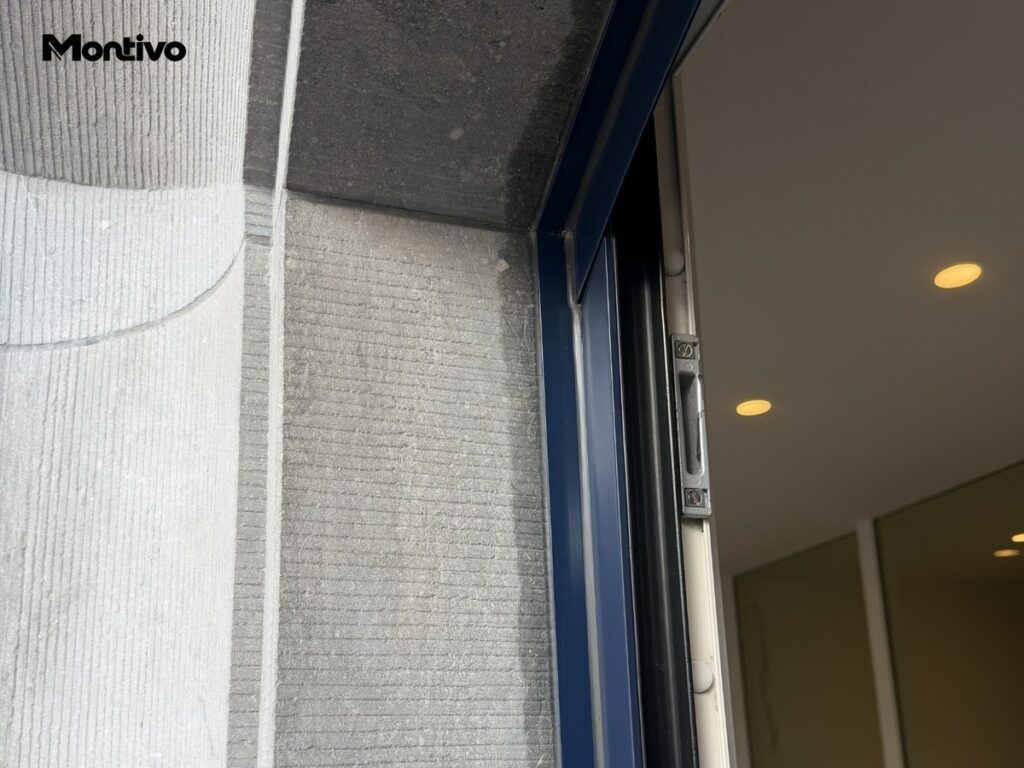
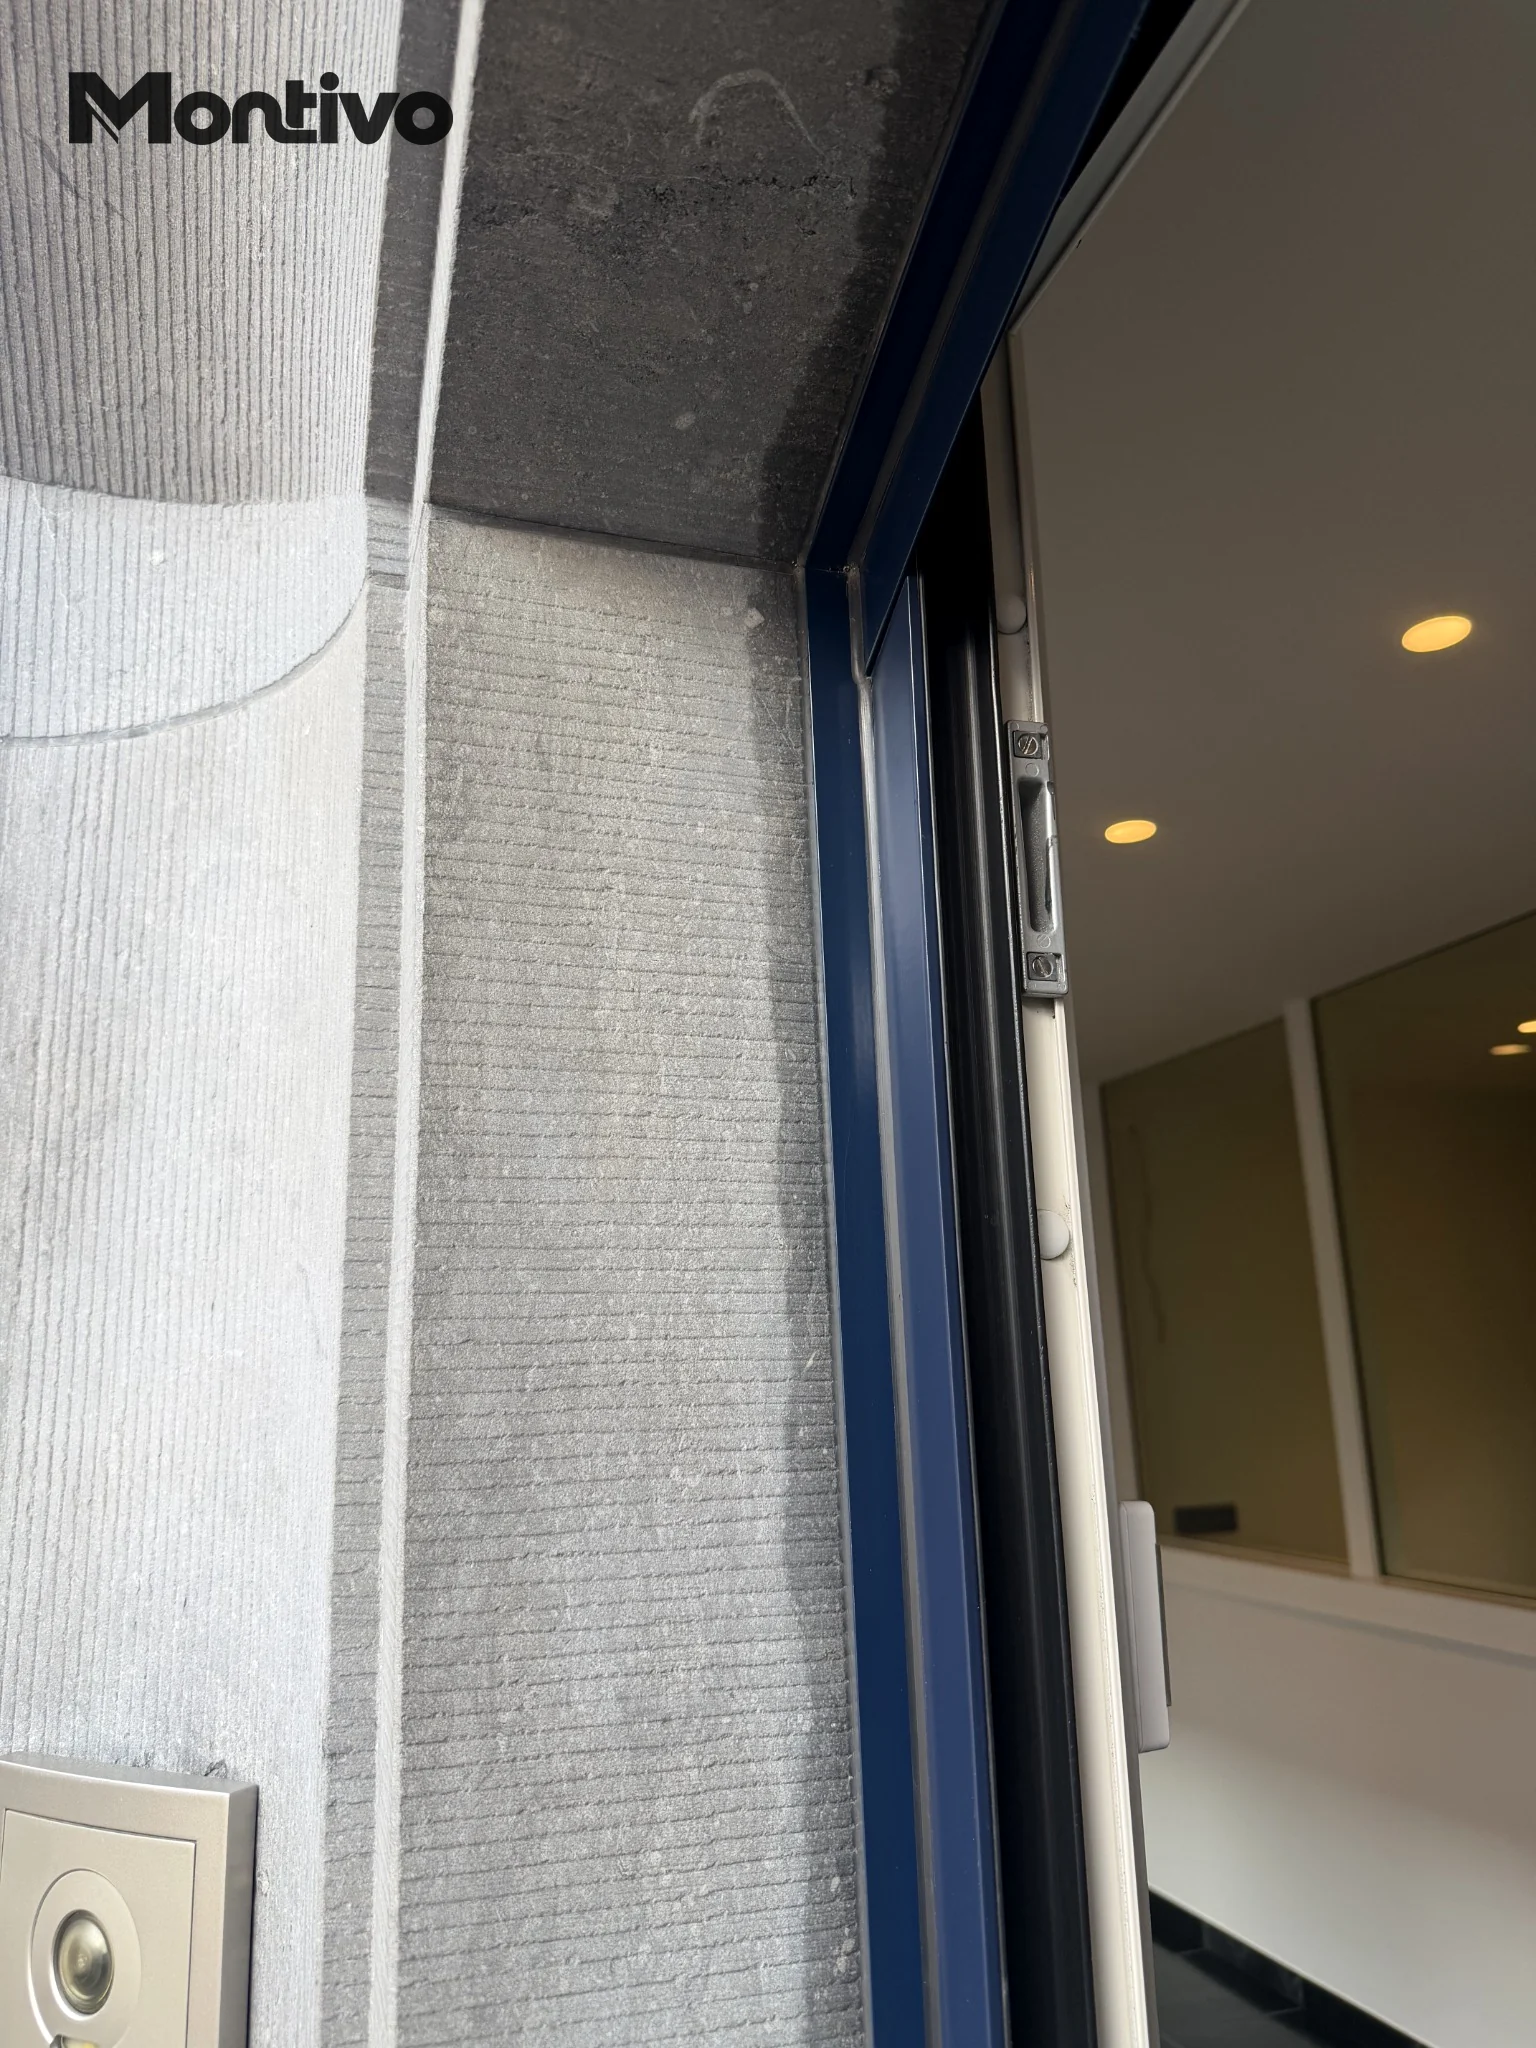
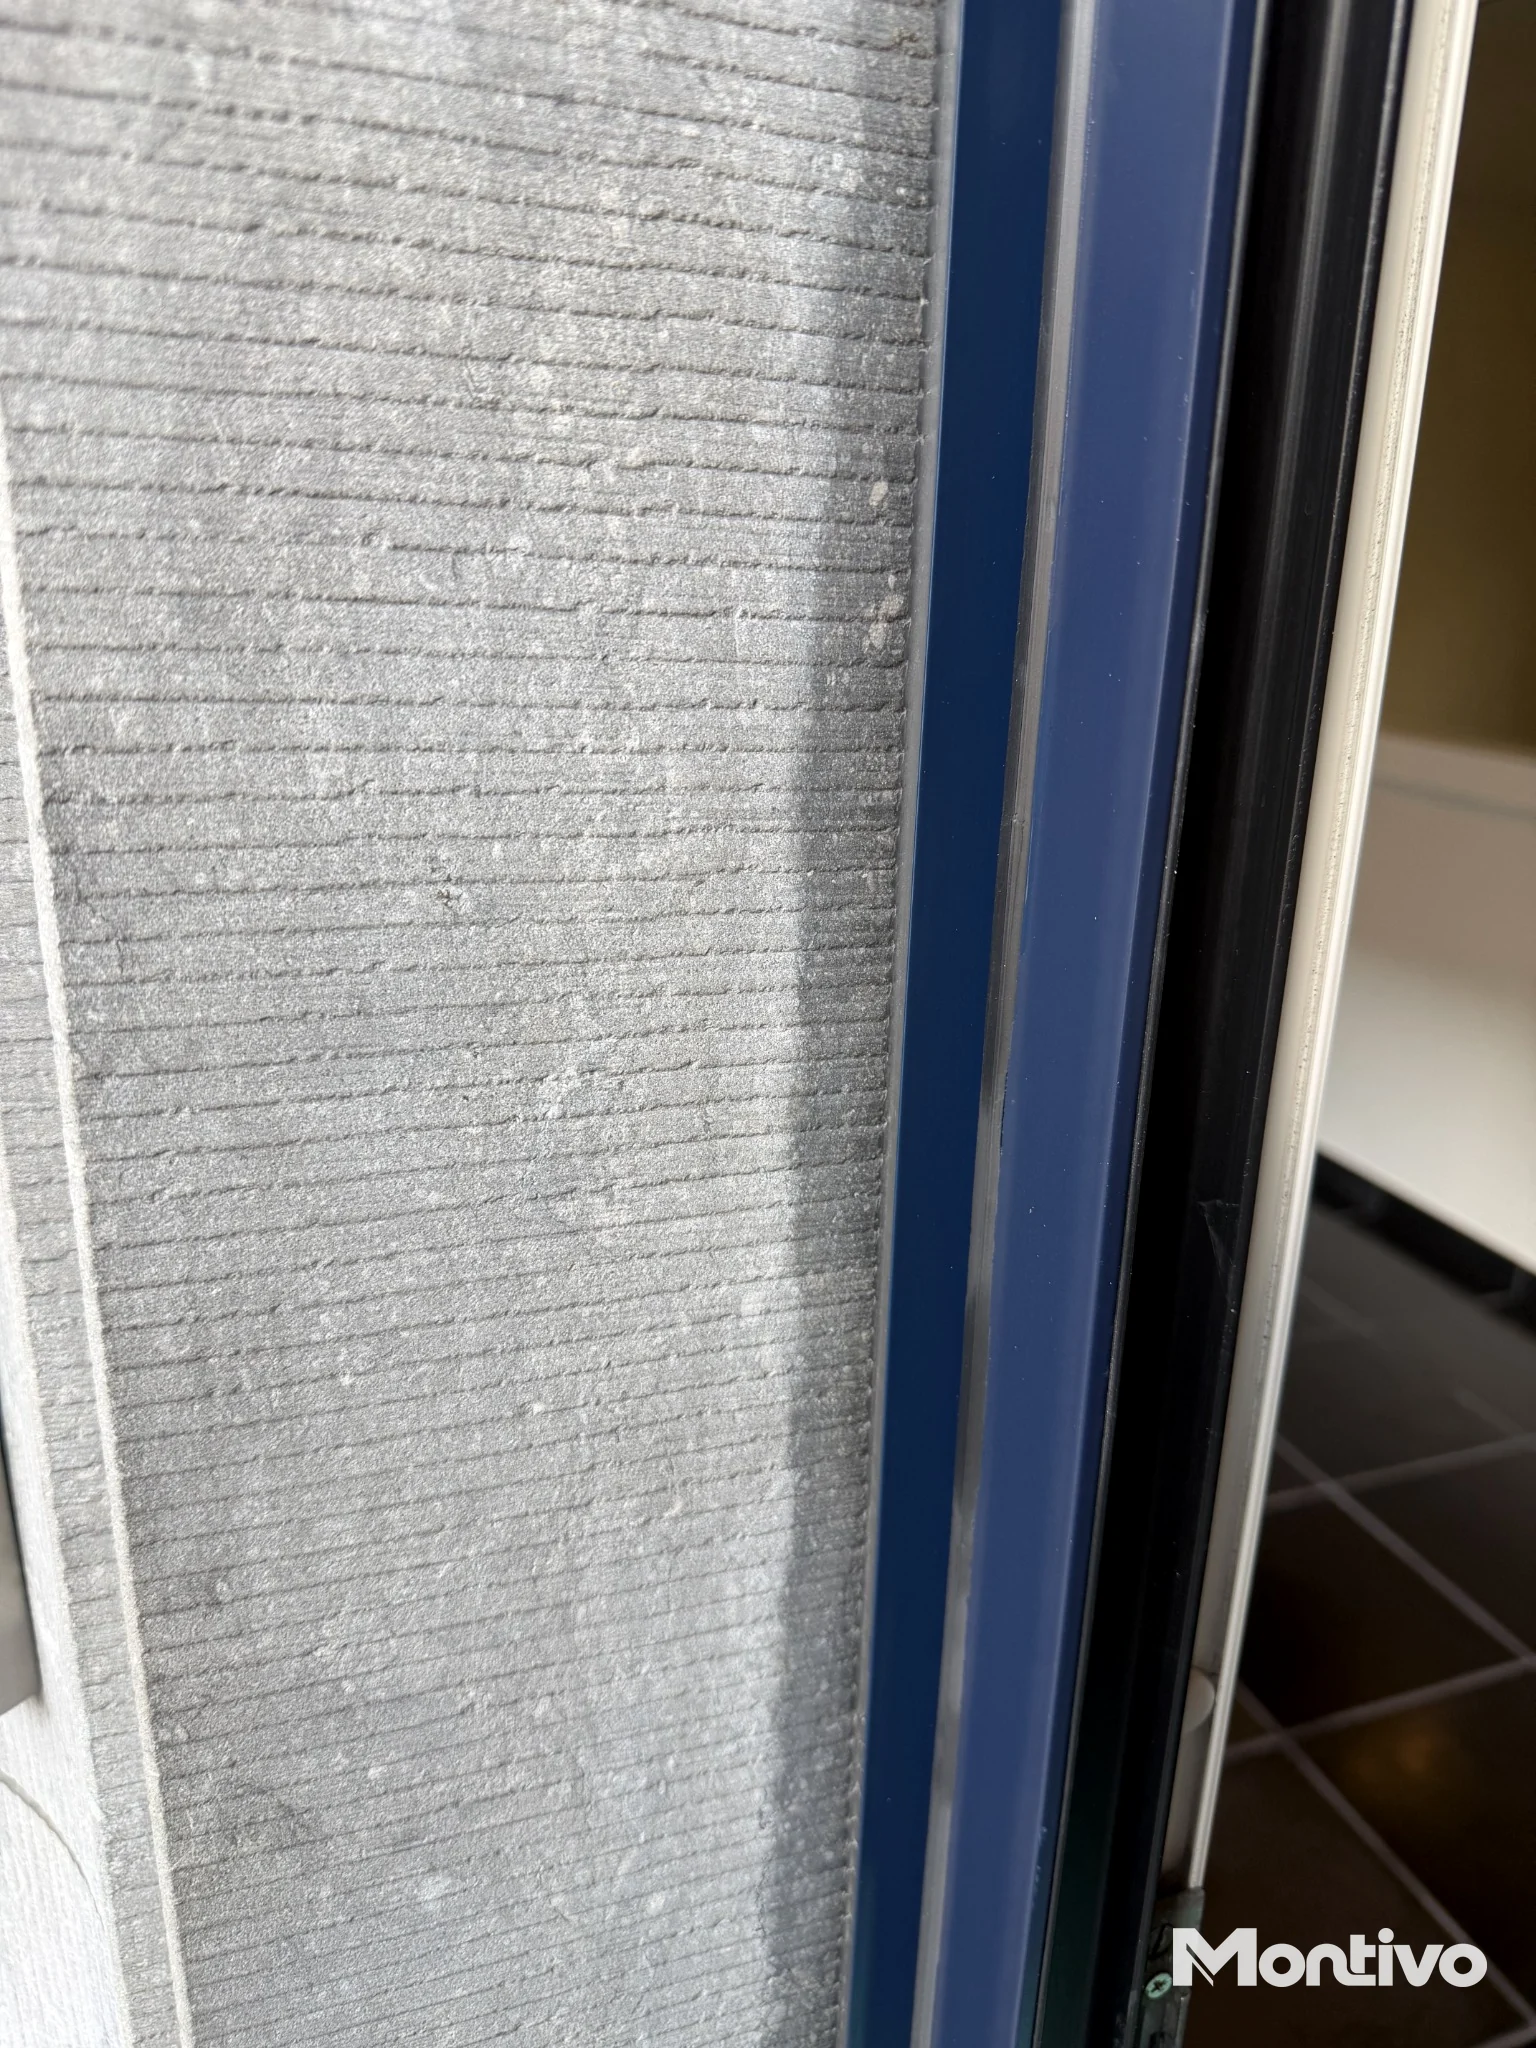
The photos show grey grooved cladding beside a blue frame, with local darkening along the junction. They show the marks, but do not establish their cause.
Why does the mark follow the edge?
Different materials and products meet at a junction. The frame and cladding may respond differently to temperature and loading. Sealants, adhesives, grout and cleaning products may affect the surface. Rainwater or condensation can also enter through small gaps.
Look at the pattern. Does the dark area follow one joint? Is it stronger at the bottom or below another junction? Does it darken after rain and fade later? These observations help guide an investigation, but do not establish a diagnosis.
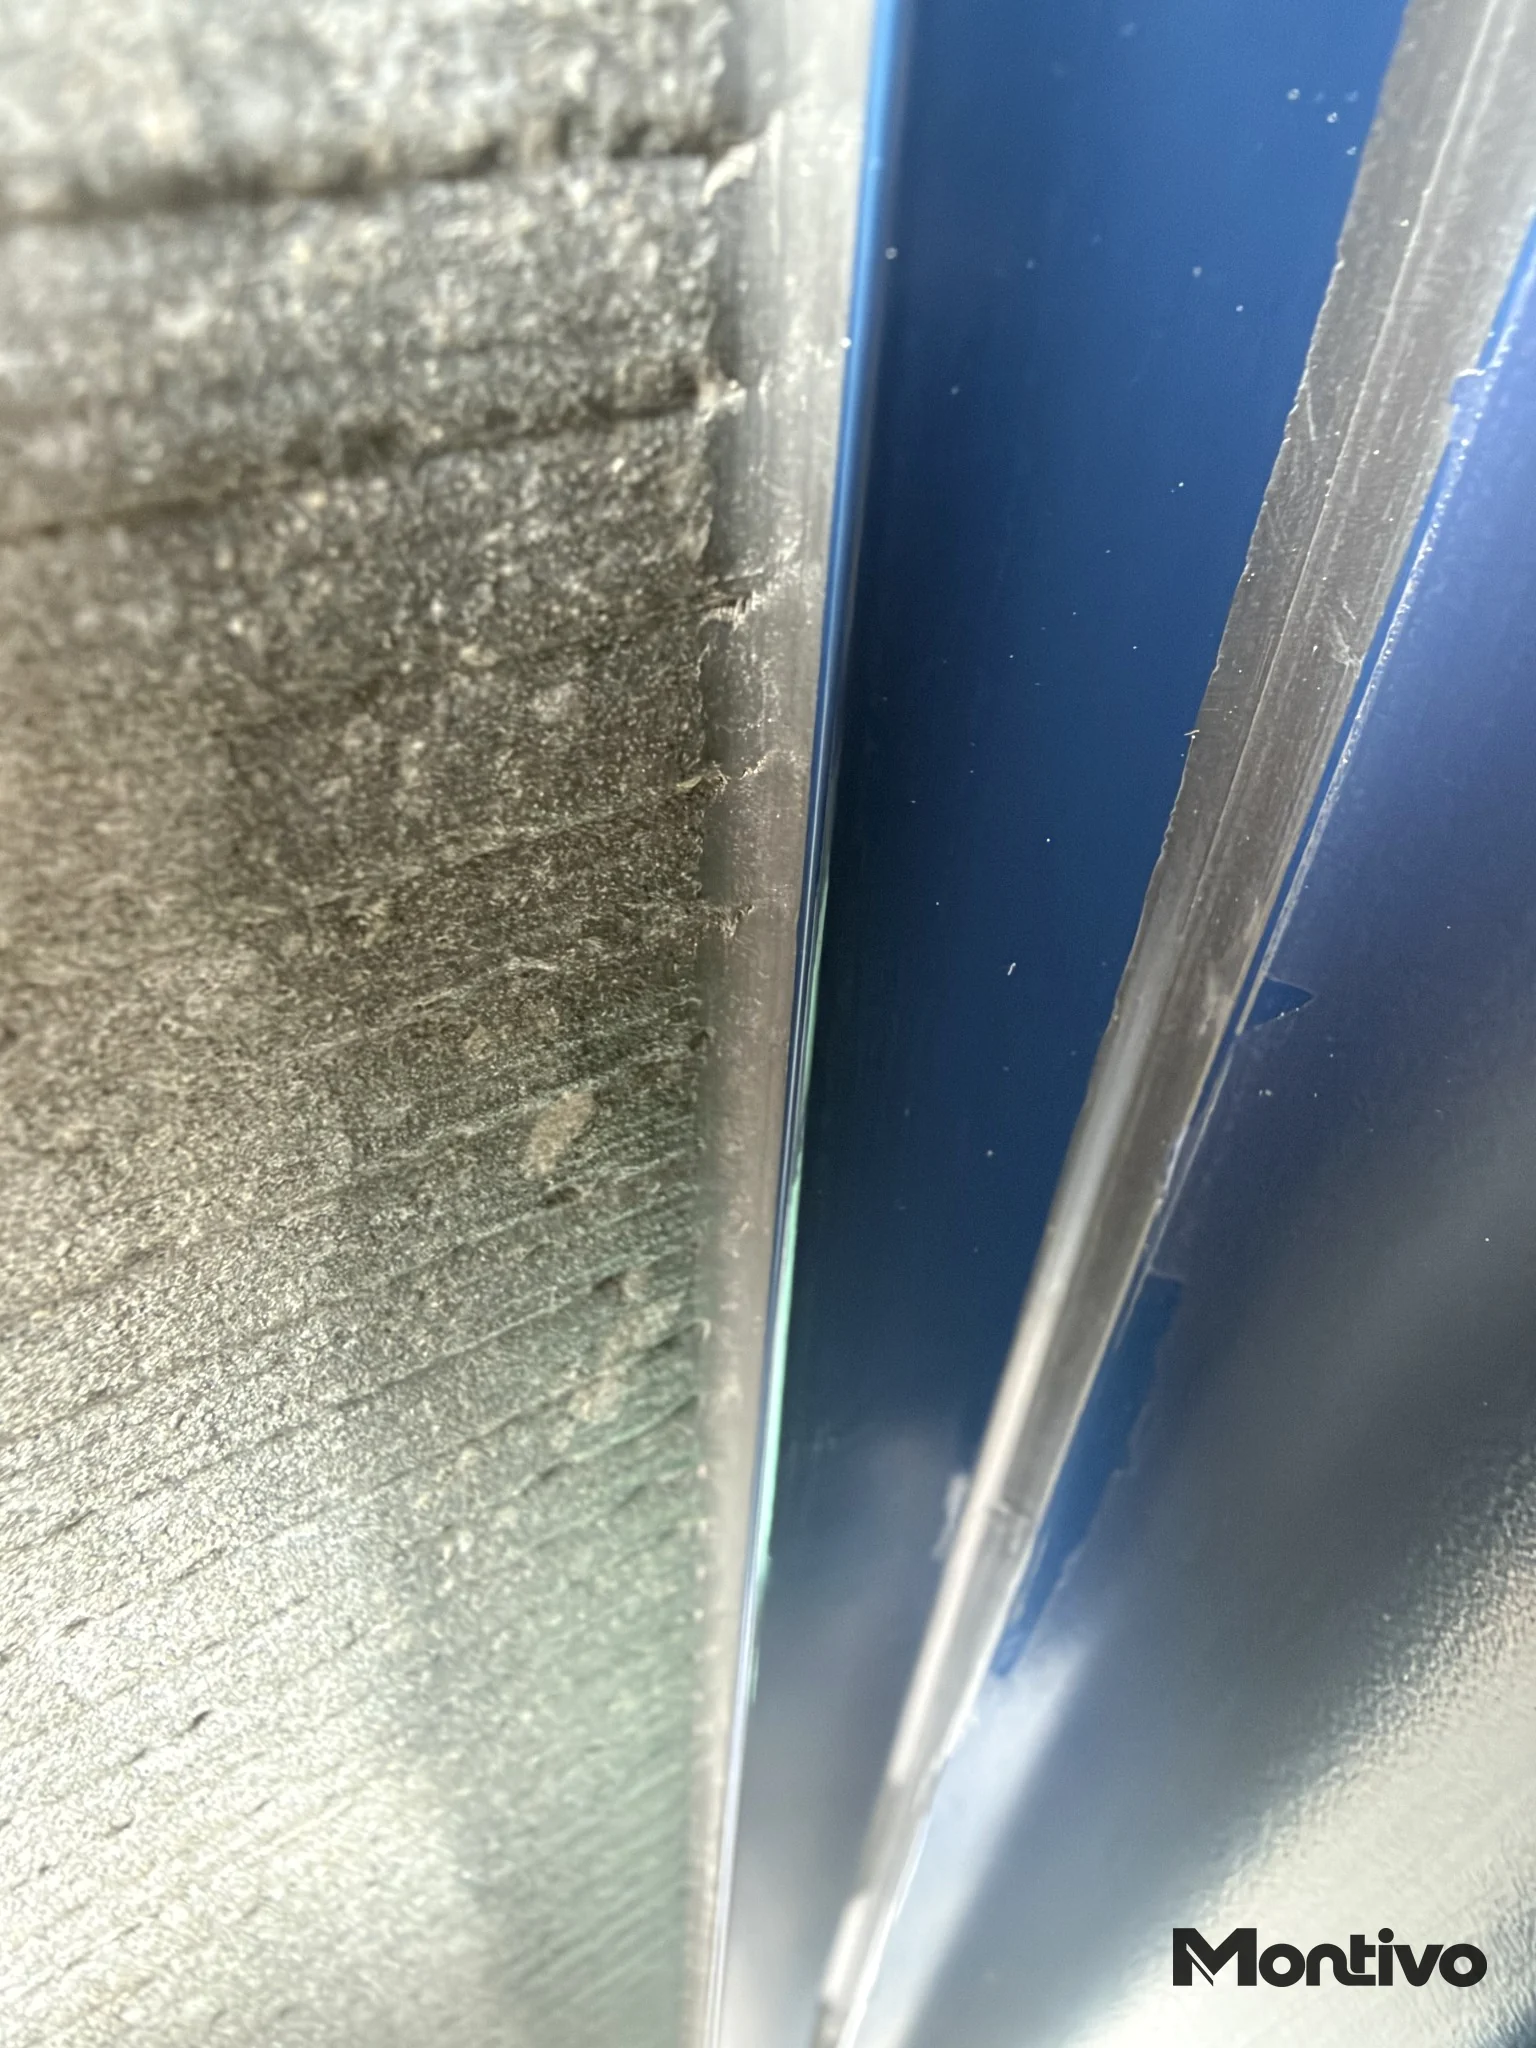
1. Ingredients migrating from sealant or adhesive
Some porous natural stones can absorb oils or plasticisers from an unsuitable sealant. These can enter pores and microcracks, leaving a persistent or permanent dark border beside the joint. This is known as edge-zone or migratory staining. Buildwise guidance and natural-stone sealant manufacturers describe this risk.
Grey cladding is not necessarily natural stone, and a dark edge is not automatically a migration stain. Ceramic, cement-based materials and porous limestone behave differently. Identify the material and check the jointing product and its technical data sheet.
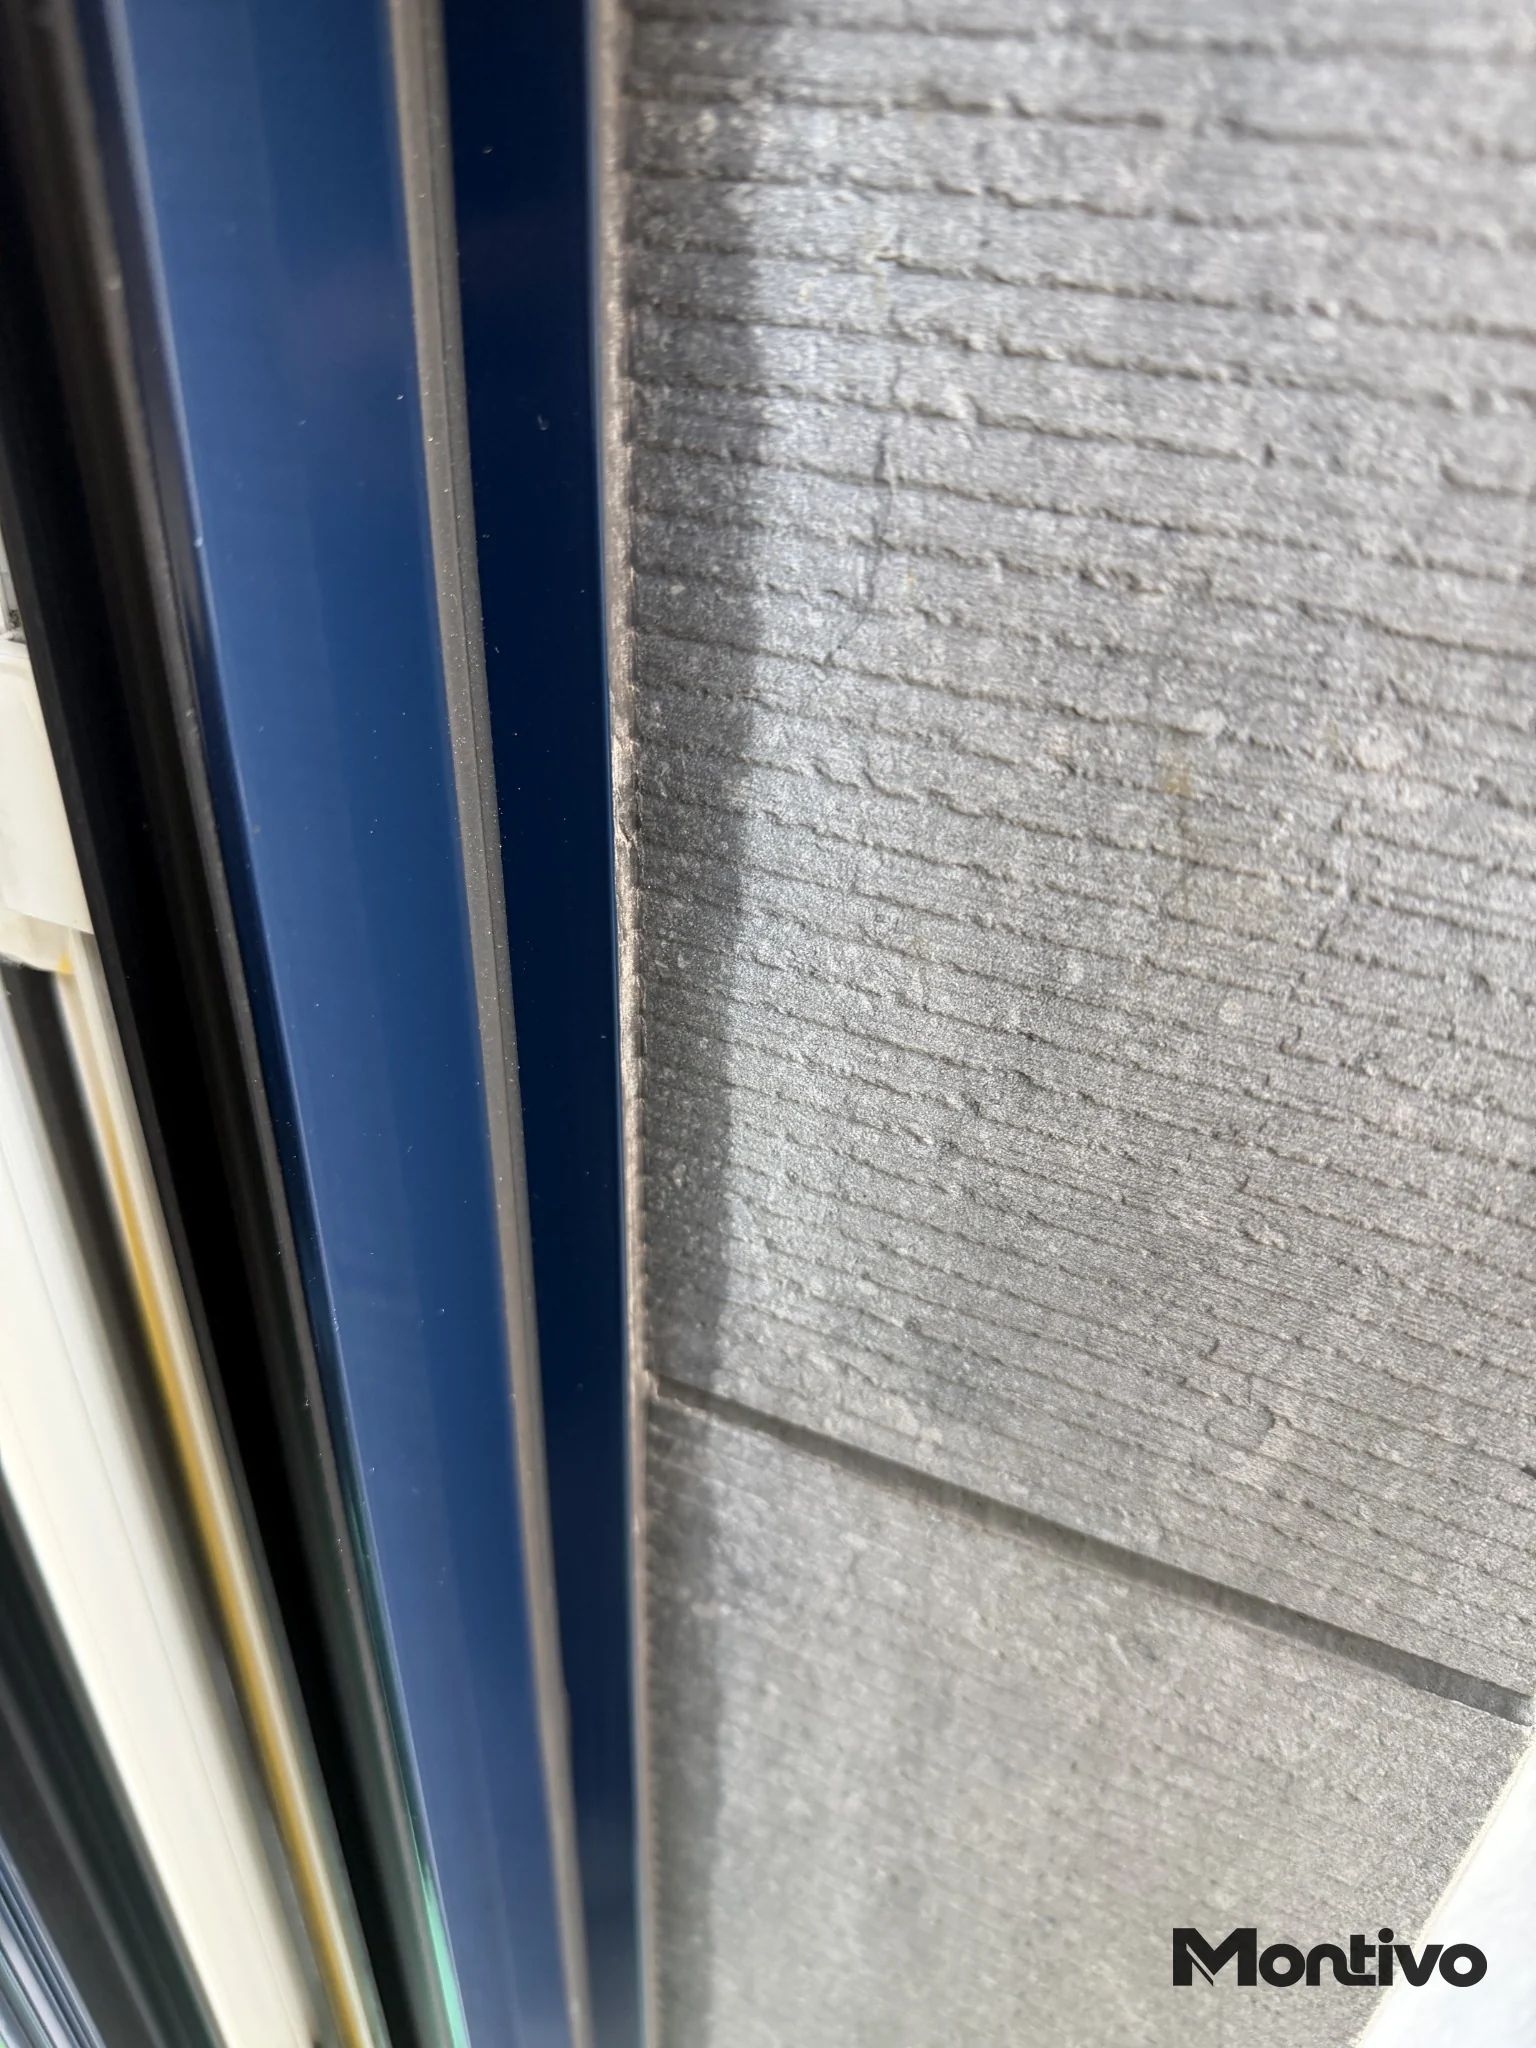
2. Moisture within or behind the cladding
Moisture can make mineral surfaces look darker. Possible sources include a leaking junction, rainwater, trapped construction moisture or condensation at a cold spot. The location of the stain and how it changes over time provide useful clues.
A moisture mark may fade during drying, while oily staining often remains visible. That comparison is not a conclusive test. A dry surface does not rule out moisture behind the finish. A specialist can take comparative readings, inspect the junction and, where needed, investigate the construction in a targeted way.
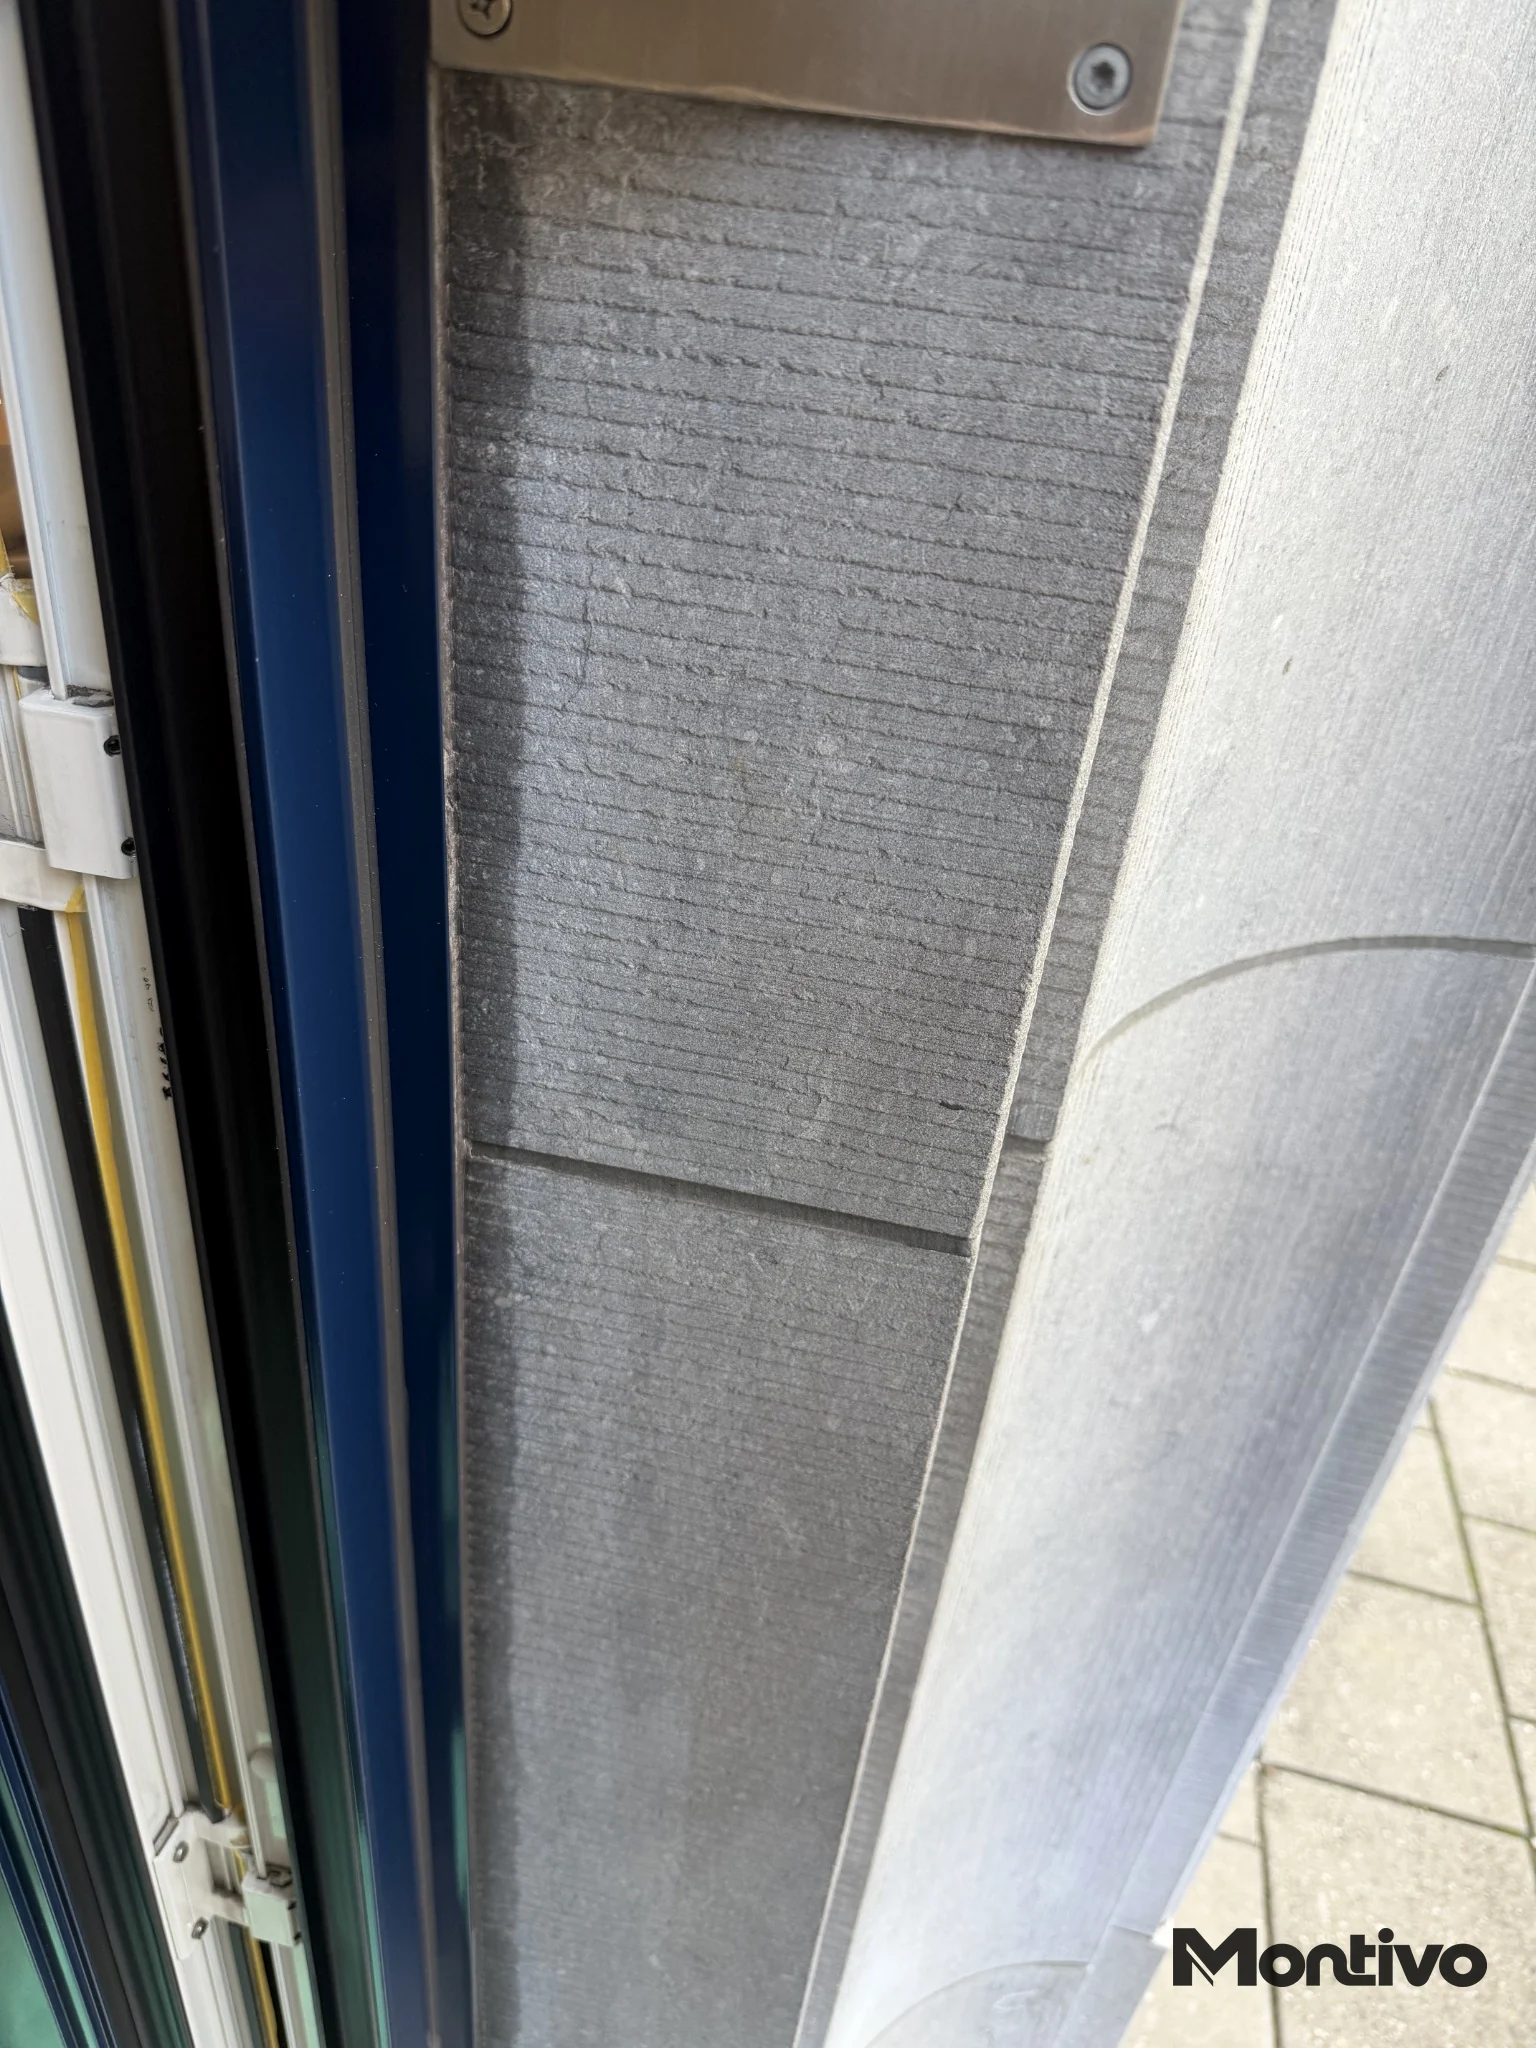
3. Installation residue or surface damage
Adhesive, sealant, grout, rubber, metal particles and cleaning products can reach the surface during installation. Some stay on top; others enter the material or alter the finish. An acidic cleaner can, for example, leave a dull patch on susceptible calcareous natural stone.
Do not assume a dark mark is dirt that needs a stronger cleaner. Acids, solvents, hard scrubbing or pressure washing can cause further damage if the material has not been checked.
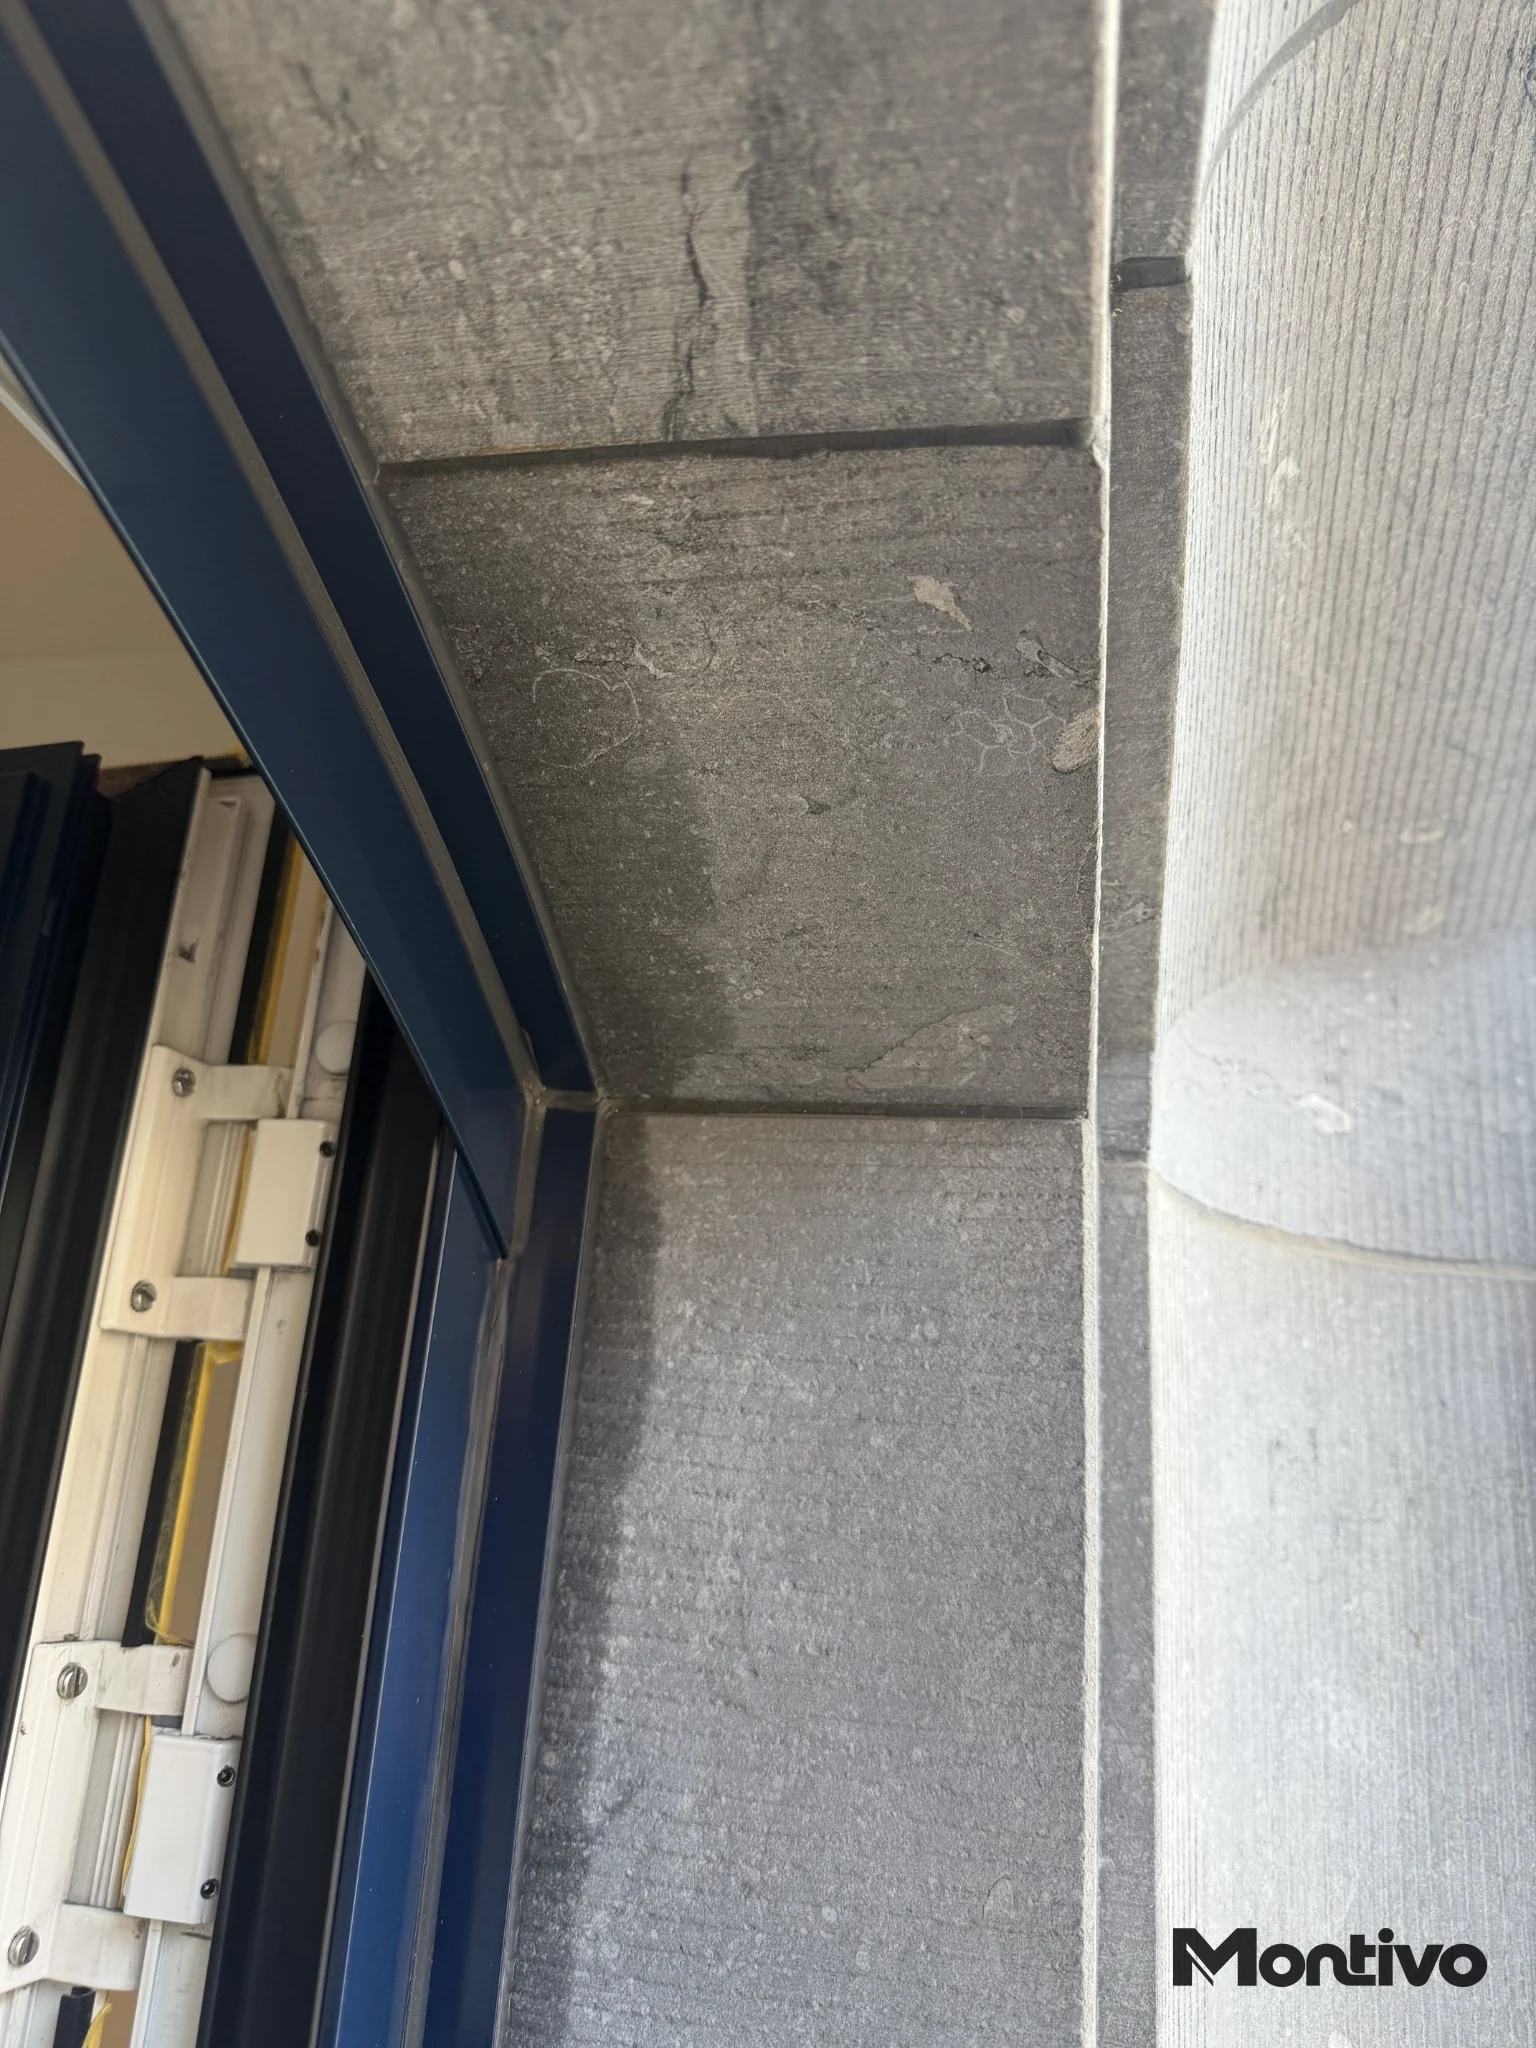
What needs to be checked?
Start with these checks:
- Identify the cladding. Is it natural stone, ceramic, concrete or another mineral product? Obtain the product specification when possible.
- Inspect the joint detail. Record the sealant, primer, adhesive and any impregnating treatments; check adhesion, joint geometry, cracks and drainage.
- Track the pattern. Take photographs under comparable lighting and note changes after rain, cleaning or temperature shifts.
- Assess moisture if relevant. Use appropriate comparative measurements and interpret them for the substrate; a single reading is rarely enough.
- Test any cleaning in a controlled way. Start only with a manufacturer-approved method on an inconspicuous area or spare sample.
When sealant migration is suspected, the data sheet may show whether a product has been tested for staining on natural stone, for example under ISO 16938-1. That result still needs to be relevant to the specific stone and the adjoining frame material.
Repair the cause first
For a moisture problem, address the water entry or condensation source first. Allow suitable drying, then assess the finish again. Surface contamination may be removable with a compatible cleaning method. If sealant ingredients have penetrated deeply, complete removal may not be possible. A specialist can assess trial treatments; severe damage may call for selective replacement.
A fresh sealant bead will not automatically remove existing staining. To reduce the risk of recurrence, the sealant, stone, frame and joint design need to be compatible. Follow the instructions for the chosen products.
Would you like us to assess a junction or finish? Explore our renovation and finishing services or contact Montivo.